Mint Lemonade | The Wonderful Wizard of Oz
Many shops stood in the street, and Dorothy saw that everything in them was green. Green candy and pop corn were offered for sale, as well as green shoes, green hats, and green clothes of all sorts. At once place a man was selling green lemonade, and when the children bought it Dorothy could see that they paid for it with green pennies.
The Wonderful Wizard of Oz,
L. Frank Baum
My exposure to The Wonderful Wizard of Oz began with the film, like many I'm sure. In fact, I only read the book itself for the first time in the last few weeks, managing to devour it within a single night, a cup of tea being continually refilled as the night grew later. I was lucky enough to get a subscription this Christmas to The Novel Tea Book Club, and the first parcel I received was a delightfully themed trip down the yellow brick road. I'm eagerly anticipating the February book to arrive, enormously curious of what will be in the parcel.
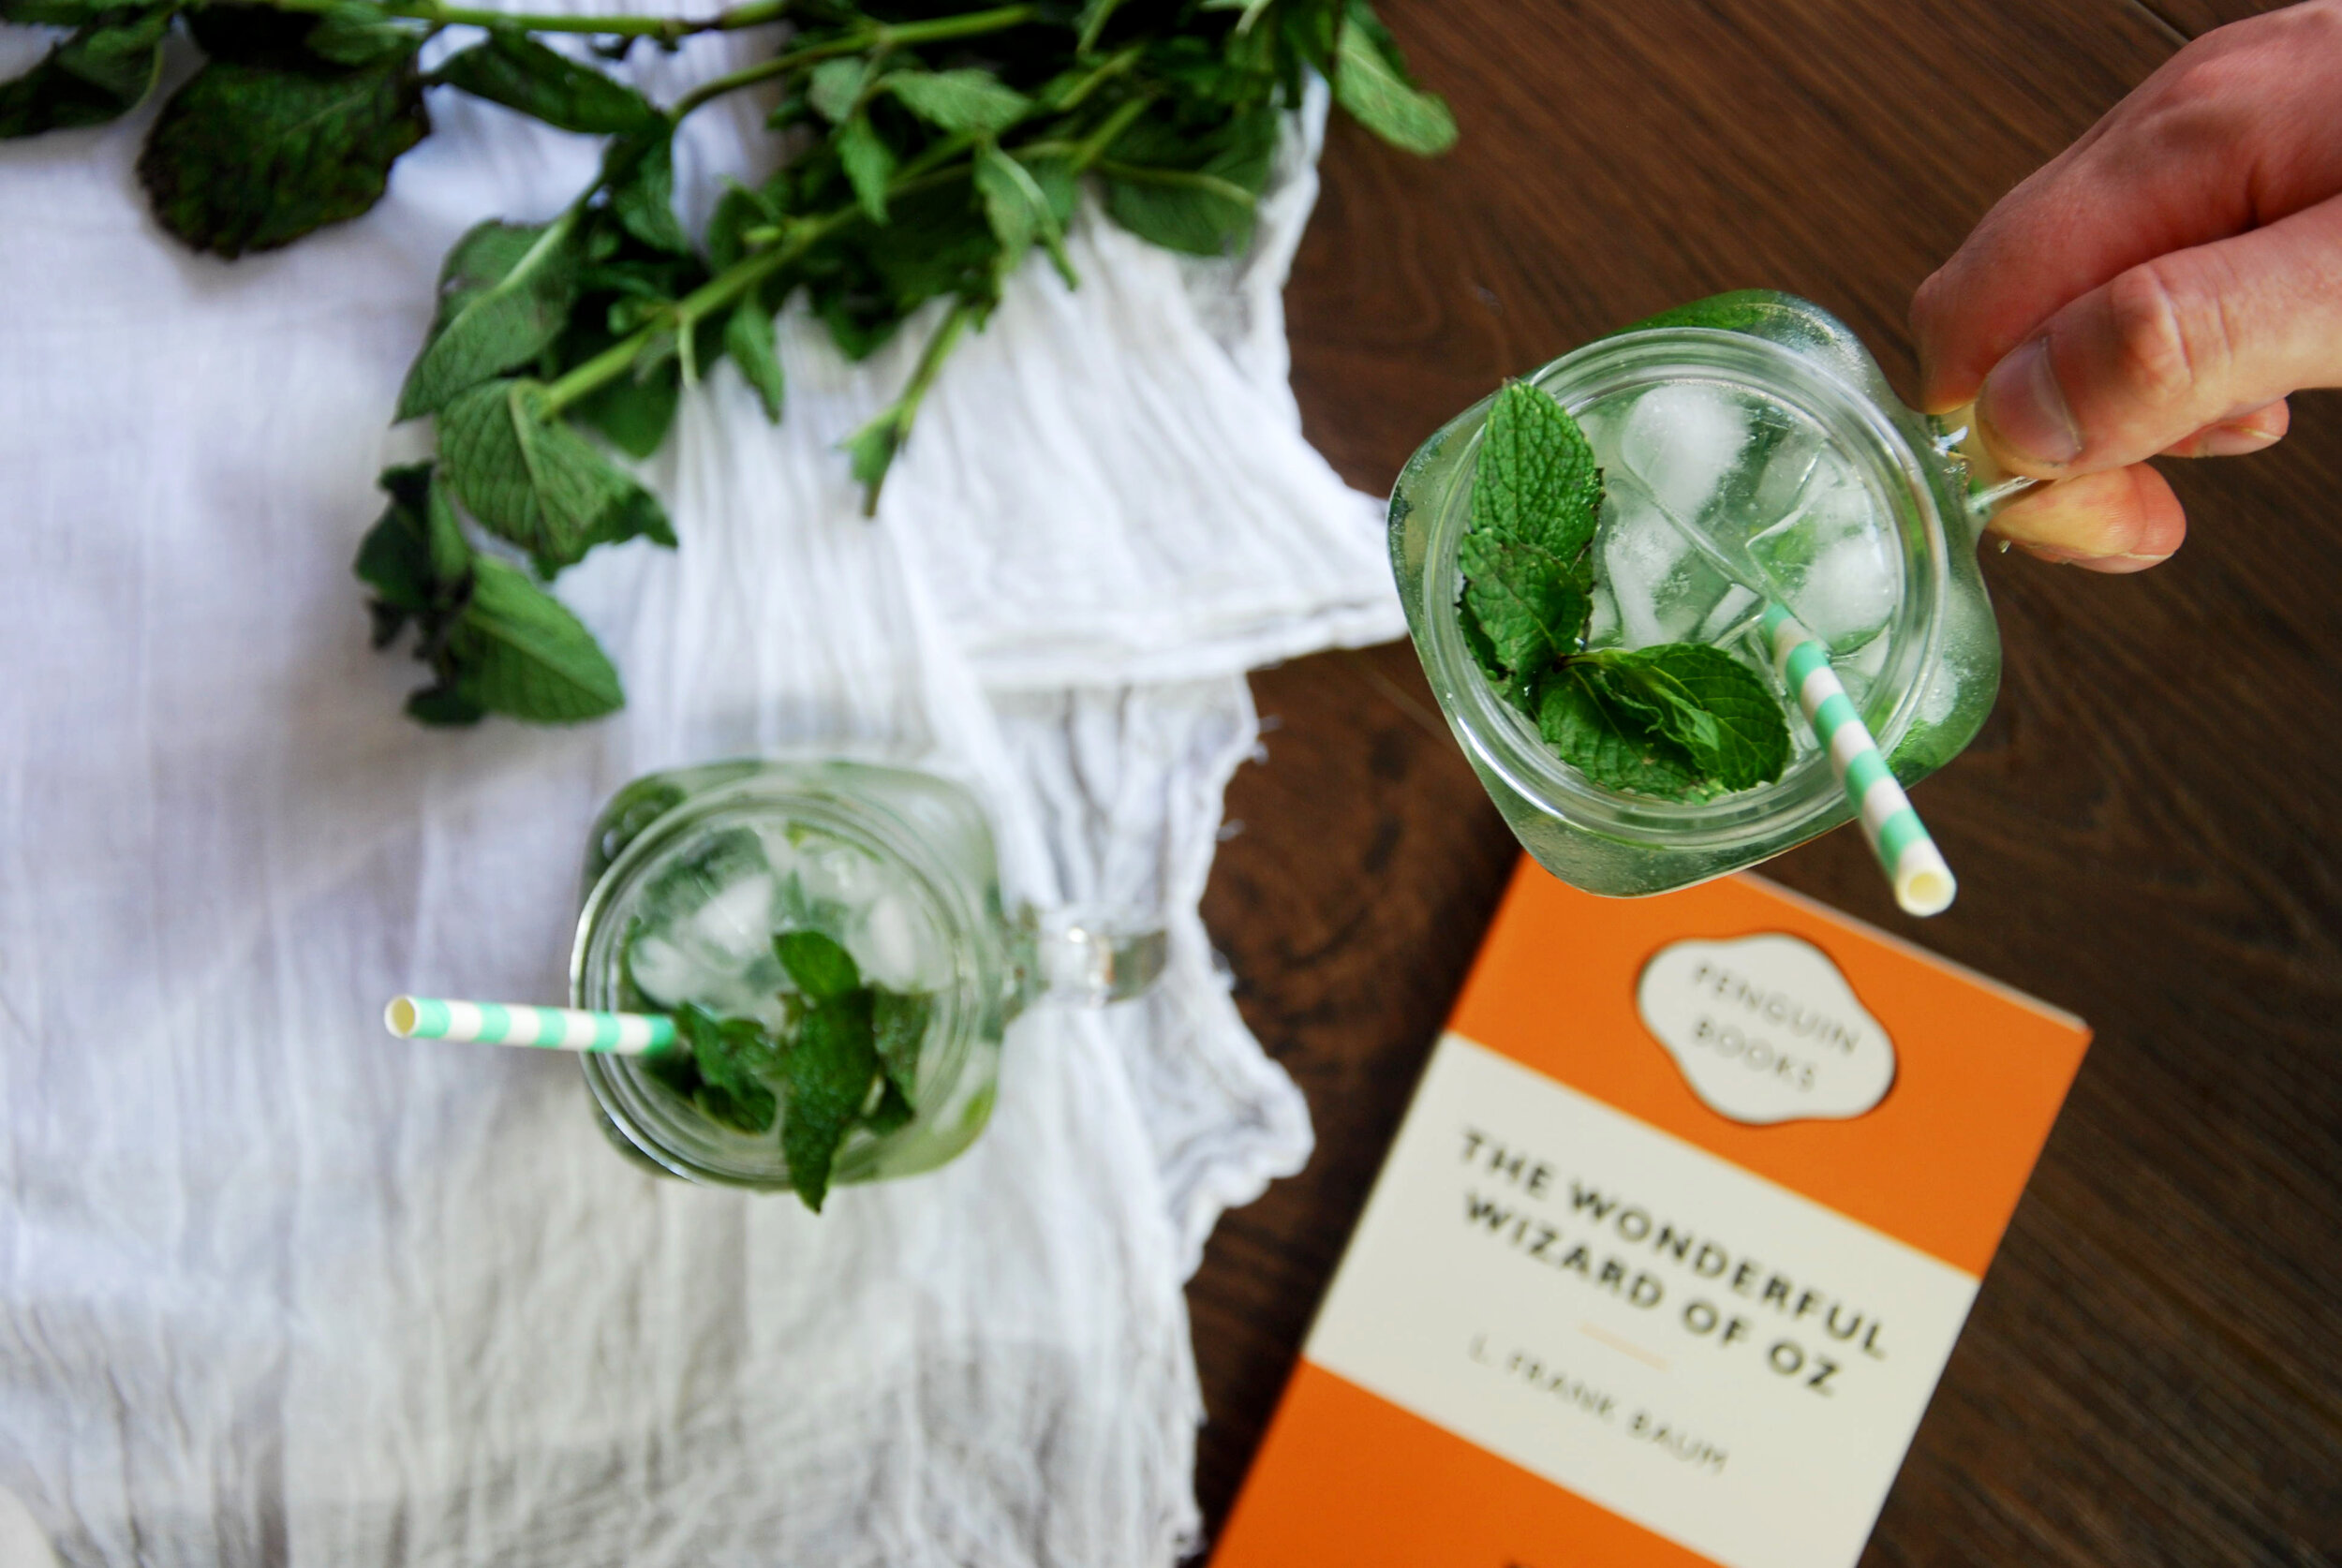
There are an array of food stuffs within the pages of The Wonderful Wizard of Oz that I could have attempted - I'm very much planning to attempt the four different types of cookies that Dorothy enjoys so much - but with summer in full swing, I couldn't go past the chance to make some homemade lemonade. with just a sprig of mint to give it that real Emerald City feel.

This lemonade recipe may look a little strange to Americans, and in all rights as the origins of the book is within America, I should have really stuck to a traditional recipe for it. However, I grew up with bubbly, carbonated lemonade and it's honestly just so much better. If you really aren't a fan, feel free to switch the sparkling water for still.
Mint Lemonade
Makes approx. 4 - 6 glasses
Ingredients
3/4 cup caster sugar
3/4 cup cold water
1 bunch of fresh mint
4 large lemons, juiced
1 - 2 bottles of sparkling water (dependant on how much lemonade you're making)
Ice
Make a simple sugar syrup by combining the sugar and cold water together, stirring well and leaving to sit for around 30 minutes until sugar dissolves.
For each glass of lemonade, place around 4 - 6 mint leaves in the bottom with a dash of the sugar syrup. Using a pestle (if you don't have one use the back of a spoon, works just as well), muddle the mint leaves well - they should be beginning to break up, with the smell of the mint coming out strongly.
Add around 2 tablespoons of lemon juice to each glass (more or less depending on how strong you like it), with an additional tablespoon of sugar syrup before topping with the sparkling water and ice.
Add a few slices of lemon or sprigs of mint as a garnish and enjoy!
Cocoa Sour Cream Cake | Matilda
'The cook disappeared. Almost at once she was back again staggering under the weight of an enormous round chocolate cake on a china platter. The cake was fully eighteen inches in diameter and it was covered with dark-brown chocolate icing.'- Matilda, Roald Dahl
The cook disappeared. Almost at once she was back again staggering under the weight of an enormous round chocolate cake on a china platter. The cake was fully eighteen inches in diameter and it was covered with dark-brown chocolate icing.
Matilda
Roald Dahl
I think for any young girl that was a big reader, there is no character more-so than Matilda that was easy to identify with. I would re-read Matilda over and over - along with adoring the movie version (which was honestly so perfect). A few years back even, I had the chance to go see the stage production of Matilda also, which was slightly disappointing - you don't think you'll see yourself cheering for the sort of awful parents quite so much.

This cake isn't quite the monstrosity that Bruce Bogtrotter is forced to eat within the story - I do not own cake tins of that size, and my salary won't quite support the cost of making a cake that big - but three layers of chocolate cake with the tang of sour cream to bring it all together, is a good enough representation for me. Also - just cover it all with chocolate flakes if you're really craving that insane chocolate hit.
Note: I used Tofutti sour cream for this! Worked super well.
Cocoa Sour Cream Cake
Ingredients
Cake
1 cup sour cream *see note
2 1/3 cups plain flour
2 cups golden caster sugar
180 ml non-dairy milk (it’s fine to substitute dairy milk if needed)
1/2 tbsp apple cider vinegar
1 1/2 tbsp oil
2/3 cup good quality cocoa powder
2 tsp baking powder
1 tsp bi-carb soda
400g butter, softened
1 1/2 tsp vanilla
¼ tsp salt
Frosting
100g vegetable shortening, softened
90g dark chocolate
90g butter
1/3 cup sour cream
1tsp vanilla
4 cups icing sugar
Dark chocolate flakes for decoration, optional
Cake
Preheat oven to 180C and prepare three 8” round cake pans by greasing and line with baking paper.
Combine the milk and apple cider vinegar together to form buttermilk and leave to the side until curdled.
Add in the oil and vanilla to the buttermilk mix and leave to the side.
In the bowl of a stand mixer (can be done by hand, just a bit harder), combine all the dry ingredients and the butter, mixing until it is crumbly and resembles damp sand.
Gradually add in the milk mixture and combine thoroughly.
Pour the cake mix evenly into the three prepared pans and bake for 25- 35 minutes or until a skewer inserted into the middle comes out clean.
Leave cakes in the pans to cool for about five minutes before removing them from the pans and leaving them on a cake rack to cool completely. They will need to be completely cooled before you can frost them.
Frosting
Heat a saucepan of water until boiling; place a metal or glass bowl on top with the chocolate in it until melted and smooth.
In the bowl of your stand mixer, combine the shortening and butter and mix until light and fluffy.
Add in the sour cream and vanilla and melted chocolate and combine.
Add in the icing sugar one cup at a time, mixing until the chocolate butter cream is smooth and creamy.
Sandwich the layers of cake together with the frosting and then cover the outside as best you can. I tend to use a flat spatula and pop the cake plate on top of an empty bowl so it’s easier to turn and get a good covering.
Enjoy large slices with a scoop of ice-cream or Bruce style – eat the entire thing in one go with your hands.
Chocolate Frogs
"'What are these?' Harry asked Ron, holding up a pack of Chocolate Frogs. 'They're not really frogs, are they?' He was starting to feel that nothing would surprise him.'No,' said Ron, 'But see what the card is, I'm missing Agrippa.''What?''Oh, of course you wouldn't know - Chocolate Frogs have cards inside them, you know, to collect - Famous Witches and Wizards. I've got about five hundred, but I haven't got Agrippa or Ptolemy.'"
'What are these?' Harry asked Ron, holding up a pack of Chocolate Frogs. 'They're not really frogs, are they?' He was starting to feel that nothing would surprise him.
'No,' said Ron, 'But see what the card is, I'm missing Agrippa.
'What?'
’Oh, of course you wouldn't know - Chocolate Frogs have cards inside them, you know, to collect - Famous Witches and Wizards. I've got about five hundred, but I haven't got Agrippa or Ptolemy.'
Harry Potter and the Philosopher’s Stone
J.K Rowling
So, it's about that time of the year that I reread all the Harry Potter books. now I've started this little project as well, I'm paying a lot more attention to the absolutely delicious foods that appear within its pages. There's probably going to be a bit of an abundance of the foods that appear within the series pages appearing soon.

It's been a rushed few months, with the summer being sweltering hot every move seems slightly exhausting - not to mention working in both a busy bakery and an overheating restaurant. I'm in my last week of hospitality work currently before I switch to a corporate setting - something that I've never done before in my life. It's going to be an interesting change and I feel that my need to explore creativity through this blog will increase at a hurried pace.
*Note: you will need chocolate frog moulds for this recipe
Chocolate Frogs
Makes approximately 9 frogs
Ingredients
200g + 350g good quality dark chocolate, if not using chips make sure it's chopped roughly
1/2 cup cream (I used coconut but any will work)
1 tbsp butter
Heat the 1/2 cup of cream on the stove until it's lightly bubbling and very hot. Remove from the heat and add in the 200g dark chocolate.
Mix quickly as to melt the chocolate while the coconut milk is still hot. Once he chocolate has melted in with cream add in the tbsp of butter. Mix together until melted into the chocolate mix. Place in fridge for 2-3 hours or until solidified into a fudge-y ganache.
While the ganache is setting is a great time to start the coating of the frogs. Heat a pot of water on the stove until boiling and place a metal or glass bowl on top, ensuring that the water doesn't touch the bowl.
Place about 2/3rd of the 350g of chocolate into the bowl and make sure to continually stir it with a rubber spatula or wooden spoon to stop the chocolate from burning.
In order to temper the chocolate and get a lovely shiny coat to it it's best to make sure the chocolate doesn't heat over 48C - if you don't have cooking thermometer the best way to tell the chocolate is ready is by the shininess it will appear to have as melting.
Remove from the heat once the temperature is reached and add in the remaining third of dark chocolate quickly, stirring to melt it from the heat of the already melted chocolate.
Drip the melted chocolate into your frog chocolate moulds, making sure to evenly coat the sides so there are no weak parts. It can be a little tricky to do this part without making the top super thick in chocolate - just do your best. There will be melted chocolate left over - keep this to the side in the bowl to remelt on the pot of boiling water for when you need to close over the frogs.
Leave to harden - about 2-3 hours. You can speed this along by placing it in the fridge but the chocolate will look better if left to harden not refrigerated.
When both the moulds and ganache filling are ready, press small spoonfuls of the ganache into the chocolate coating of the frogs, pressing down to fill up the crevices.
Now is when you want to remelt that leftover chocolate, once ready drip it over the top of the filled chocolate moulds, sealing the ganache inside. Leave to harden for at least 4 hours.
After about 4 hours have passed you can attempt to get the frogs out of the moulds - they should come out very easily, if not, they're not properly set - leave them for another hour or so.
Google Buns | The Magic Faraway Tree
“Come on,” said Moon-Face. “Come and eat a Google Bun and see what you think of it.”
Soon they were all sitting on the broad branches outside Moon-Face’s house, eating Pop Biscuits and Google Buns. The buns were most peculiar. They each had a very large currant in the middle, and this was filled with sherbet. So when you got to the currant and bit it the sherbet frothed out and filled your mouth with fine bubbles that tasted delicious. The children got a real surprise when they bit their currants, and Moon-Face almost fell off the branch with laughing.”
- The Magic Faraway Tree, Enid Blyton.
Enid Blyton had a way with words - more specifically - a way with food. Her numerous books, while telling the stories of children having adventures in faraway lands or solving mysteries on a private island (a re-read of some of the Famous Five books has now revealed to me at an older age that these families must be loaded. I mean, a private island with its own ruins?!) always seemed to being about the imagery of picnics and fresh baked breads.
I grew up reading so many of her books, I’d think I’d finished the last one and then my dad would arrive home with five more to gift me - I’m pretty sure he was just raiding all of our local op shops. Growing up in rural Australia, more specifically in the middle of the bush with only two neighbours on my street, both at least a ten minute walk away, all of Enid Blyton’s books resonated with me quite a bit. I think I expected to have far more adventures than I actually did, looking back my childhood years were curiously absent of the troubles with smugglers and treasure hunters that I thought I would experience.

While I am aiming to have a Famous Five style picnic soon (I am confident in my ability to provide lashings of homemade gingerbeer), the first few recipes I wanted to tackle came from possibly the most famous of Enid Blyton’s books - The Faraway Tree. There are so many interesting takes on the magical foods that the children feast on when exploring the tree but I’ve yet to see an (what I think is) accurate portrayal of Google Buns.
There are a few versions and recipes online already, but I’ve kinda gone my own way with it, of course the general outline of how this was done can really be done with any particular bun recipe that you want. I used a hot cross bun recipe, I really wanted that fluffy texture that’s not quite so sweet, with the subtle spiced flavours to have as a direct comparison to the burst of sweet sherbet from the inside. I just used a recipe from delightful adventures that I use all the time - I’ve never had it not work. I generally kind of tweak the recipe each time I make it by adding different things so the recipe below will be similar but not identical to theirs.
While the original description of Google Buns are that they contain a large currant filled with sherbet, it was really hard to find any currants bigger than sultanas around my local area, so I cheated and used dried apricots. Also - I used my stand mixer for this and the dough hook so I didn’t have to knead it. It could be done without, you would just have to use your hands to work and knead the dough instead.
Google Buns
Buns
3 teaspoons dried active yeast
1 teaspoon sugar
1/2 cup lukewarm water
3/4 cup milk (I used coconut, but whatever you have will be fine) at room temp + 2 tablespoons for later
1/3 cup oil (vegetable preferably but I’ve definitely used olive before with no bad results)
Pinch of salt
2 teaspoons ground cinnamon
1 teaspoon ground nutmeg
1/2 teaspoon ground cardamon
1/4 cup caster sugar
Zest from two oranges
Zest from one lemon
3 - 4 cups of plain flour
1 cup of sultanas
Maple syrup
Glaze
1 cup icing sugar
2 tablespoons butter (I used Nuttelex but any you have is fine)
1 tablespoon vanilla extract
Pinch of salt
2 tablespoons of milk (Again, I used coconut milk - but any would work)
Sherbet
1 1/2 teaspoon bi-carb soda
1 1/2 teaspoons citric acid
2 tablespoons icing sugar
At least 12 dried apricots (be prepared to screw a few up when getting the sherbet in)
1. Place the yeast, 1 teaspoon of sugar and the lukewarm water in bowl for your stand mixer and leave to foam up for a few minutes.
2. Add the 3/4 cup of milk, oil, salt, ground spices, orange and lemon zests, and one cup of flour - mix with a spoon to combine.
3. Place the bowl onto your stand mixer with the dough hook and add two more cups of flour - gradually add another 1/2 cup of flour at a time fo your dough is super sticky.
4. Leave in the mixer for another 4-5 minutes, gradually adding in your sultanas at the end. I found I had to manually work the sultanas through at this stage to ensure they would be properly distributed.
5. Lightly oil a large bowl and place your dough inside. Cover with a clean tea towel and let it sit for about an hour in a warm spot - it should double in size.
6. Line a tin with baking paper and allow it to hang over the sides - this will allow you to pull the buns out easily after baking. I’m quite terrible with knowing the dimensions of my baking tins, so I have no idea what I used - find something that will fit roughly 9-12 hot cross buns in it. It’s hard to choose wrong.
7. While the dough is rising we can make our sherbet filled apricots! Mix together the bi-carb, citric acid and icing sugar - feel free to taste and adjust if you want it sweeter, more sour or more foamy. That’s it - sherbet is so easy to make and I’m only now feeling anger at all the packs of Whiz Fizz I bought as a small child.
8. Carefully use a small, sharp knife to slice open the bottoms of the dried apricots until it makes a sort of pouch - then, using a teaspoon, pack it with as much sherbet as you can and use the stickiness of the apricot to close it back up. It can be a bit tricky but it really doesn’t matter if they’re neat, the idea is to just get as much sherbet inside as possible.
9. Once an hour has passed and your dough has doubled in size, take it from the bowl and give it a quick knead before breaking it into roughly 12 equally sized pieces (first time I made this I got 9, second time 12, really depends how big you want your buns).
10. Roll each piece into a ball and place them together in the pan, they should be somewhat tight and touching. Cover again with a tea towel and leave for another 30 minutes in a warm place to rise again. Preheat your oven to 190C.
11. To make the ‘egg’ wash’ simply combine the 2 tablespoons of milk and 1 tablespoon of maple syrup and brush over the tops of the uncooked buns.
12. Bake buns for about 20-25 minutes - they should be a nice golden brown on top and slightly springy to the touch.
13. Remove from oven and allow to sit for a few minutes before removing them from the pan by lifting the baking paper. Leave to cool while we make the glaze.
14. Making the glaze is super simple - combine all ingredients in a stand mixer and whisk till combined, alternatively you can whisk by hand, just be sure to get all lumps out.
15. When the buns have cooled, use the end of a spoon or even a chopstick to make a small insertion on the side, enough to press one of the sherbet filled apricots through, repeat until all buns have a surprise inside.
16. Spoon the glaze over the tops of the buns and either allow to sit and harden or eat them fresh and sticky. Enjoy!