Lavender Scones with Whipped Honey and Seal Salt Butter | Brambly Hedge, The High Hills

The mice ate their picnic and enjoyed the late autumn sunshine but soon it was time to go on.
Brambly Hedge | The High Hills
Jill Barklem
I like to think that these lavender scones and butter would be the perfect thing to take along on a tiny mice picnic, to eat in the sun with a cup of tea poured from a tiny thermos.
I instead ate them on a weekend while drinking endless cups of tea! Of course. A close friend of mine sent me a package of amazing goodies recently, including some dried lavender from his and his partner’s garden. This is the first thing I’ve made with it but I’m so very keen to do syrup for iced lattes and many other things!

Lavender Scones with Whipped Honey and Sea Salt Butter
Makes approx. 9 scones
Ingredients
Scones
1/2 tbsp dried lavender
1/2 cup raw caster sugar
375g plain flour
1.5 tbsp baking powder
1 tsp bi-carb soda
115g butter, cold
230ml milk + 1 tbsp apple cider vinegar
Sea salt
Butter
2 tbsp honey
100g butter
Sea Salt
Scones
Preheat the oven to 200C and line a large baking sheet with baking paper.
Combine the milk and apple cider vinegar and set to the side to curdle into butter milk.
Using a grinder combine the sugar and lavender and grind until even and fragrant - I used a small blender to do this but have also used a mortar and pestle before, it just took a bit longer.
In a medium sized bowl tip in the lavender sugar, flour, bi-carb soda, baking powder, and a pinch of salt - mix until combined. Add int he cold butter and use your fingers to rub it into the flour until it resembles wet sand.
Make a well in the middle and pour in the butter milk, stirring with a wooden spoon until it is just combined.
Tip the dough onto a lightly floured surface, it will be quite soft, use your hands to gather it up and give it a few folds until you can bring it together to form a 1 inch thick mound. Use a round cutter, or a glass if needed, to stamp out as many scones as you can. Re-roll the scraps and repeat!
Place the scones onto the prepared baking tray in rows, letting them almost touch (this will encourage them to ride upwards instead of outwards!). I brushed the tops of mine with a bit of extra milk.
Bake for 15 - 18 minutes or until they are a light golden brown. Remove from the oven and let cool a little before serving with the honey and salt butter.
Whipped Honey and Sea Salt Butter
In the bowl of a stand mixer (if you have one! Otherwise you can also do this with a whisk, it just takes a bit more elbow grease) place your butter and beat until it is smooth and fluffy.
Slowly drizzle in the honey while beating it and 1 - 2 tsp of sea salt, depending how salty you like it!
Scrape the butter into a container and refrigerate before serving with scones. enjoy!
Egg Muffin | The City We Became

‘Right,’ I say, biting into the egg sandwich and damn near wetting myself. Actual egg! Swiss cheese! It’s so much better than that McDonald’s shit.
The City We Became
N.K Jemisin
This entire recipe is possibly a touch ironic considering the sandwich within The City We Became is lorded for having real egg and real cheese! My version basically had the opposite to real egg and real cheese. Or real bacon for that matter. However, it is still so delicious and according to my dedicated taste tester - genuinely has the texture and taste of omelette.
I picked up The City We Became a few days ago, half because I had seen a few great reviews floating around, and half because the cover jumped out at me from the shelves. I know many say to not judge a book by its cover but, come on, look how great that cover is.
If you’re looking for an almost subdued sci-fi/fantasy this novel is fantastic. A world in which certain cities when they become a size become sentient. Their spirit and force envelops a human avatar who becomes the city. It’s a weirdly fun read - and I can only imagine that native New Yorkers could only love it more.

Egg Muffin
Makes approx. 8 - 9
Ingredients
Muffins
2 tsp instant yeast
1/2 tbsp white sugar
400g plain flour
120ml warm milk
120ml warm water
2 tbsp butter, melted
50g polenta
Sea salt
Eggs
100g chickpea flour
80g firm tofu
1 tsp ground turmeric
1 tsp black salt
1 tbsp nutritional yeast
120ml water
Seal salt
Cracked pepper
2 tsp butter
+ bacon/plant based bacon of your choice
+ cheese of your choice
+ sauces of your choice, tomato and hot sauce is particularly delicious
Muffins
Combine the warm water and yeast in a bowl, leave to sit for around 5 minutes or until it becomes frothy.
Once the yeast mixture is nice and frothy add in the warm (not too hot!) milk and melted butter. Also add a pinch of salt and two cups of the flour - mix until it becomes a dough. You will likely need to add more flour as you go along.
Lightly flour a clean surface and turn the dough out onto it, kneading it until it becomes smooth. Place the dough into a clean bowl and cover with a damp tea towel (this will help stopping the dough drying out) and leave in a warm place for around an hour or until the dough has doubled in size.
Once the dough has doubled in size turn it back out onto a floured surface. Roll it out to about 1/2 inch thick and use either a biscuit cutter or a jar/glass to cut out your muffins. Ball up the scraps of dough and roll them out again, continue to cut them out and roll the scraps until you’ve used it all.
Scatter the polenta over a baking tray, placing the cut out muffins onto it before covering with a damp tea towel again. Leave the prepared muffins for another hour to rise again.
Heat a heavy bottomed frying pan on a medium heat, once the pan is hot carefully transfer a few of the muffins into the pan. You want to cook them for around 5 minutes before flipping them to cook another five minutes on the other size. Once each side is a golden brown place them onto a cooling rack.
Repeat the process with the remaining muffins and leave them to the side to cool.
EggCombine the chickpea flour, water, tofu, black salt, nutritional yeast, turmeric, a pinch of sea salt and some freshly cracked black pepper into a blender. Blend until the tofu has been well blended and all you have remaining is a yellow-y mixture. It shouldn’t be too watery but also not super thick. Add a little more water if necessary.
Melt the butter into a frying pan, moving it around to coat the surface. Once the pan is hot pour in the ‘egg’ mixture. It will take a few minutes to cook, try and avoid touching it or moving it until it firms up.
Once the ‘egg’ mixture has solidified and you can easily get a spatula beneath the edge, flip it over in the pan and leave it to cook for another 30 seconds on the other side before removing it from the pan.
Either use a biscuit cutter to cut out exact circles from the ‘egg’ or just cut it up into squares to assemble the egg muffins.
You can really do whatever you want from this stage. I cut up my muffins and lightly grilled them with cheese before adding on bacon, egg, tomato sauce and hot sauce. Enjoy!
Cherry, Vanilla & Spiced Rum Jam | In Cold Blood

The cider-tart odour of spoiling apples. Apple trees and pear trees, peach and cherry: Mr Clutter's orchard, the treasured assembly of fruit trees he had planted.
In Cold Blood
Truman Capote
It feels like this year has passed within a single week. In comparison to the rest of the world Australia is quite lucky at this moment in history. We’ve successfully implemented lockdowns to stop the spread of COVID19 and are now slowly returning to a somewhat state of normality as Summer has begun. I have to admit that there is a hint of joy in this for me, while I am at heart a lover of Winter, the appeal of breezy Summer days has its appeal to me. Excuses to go on impromptu picnics, trips to farmer’s markets to stock up on whatever is in season.
In Cold Blood from Truman Capote is not exactly a Summer novel - but the language within it feels as though it has hints of warm, sweltering months within its pages. I didn’t expect to love this book quite as much as I did. I had little prior knowledge of the plot before I picked it up - I perhaps wasn’t quite expecting a crime thriller. Which feels a little silly now knowing that it is one of the most prolific crime novels of all time.
There are a range of different foods mentioned within the pages of this novel, cinnamon buns, pancakes, or even the last meal consumed by the two titular characters. With the days heating up however, and the cloyingly sweet smell of summer fruits beginning to drift across the streets as one makes their way to the local market, it was hard to pass by the table full of cherries.
This jam is delicious - the addition of the spiced rum takes away the overly sweetness that can be overpowering in a lot of fruit jams. Instead the rum emphasises the taste of the ripe cherries and the vanilla laced throughout it. It is so good, and anyone you gift this jam to will be in your debt.
Cherry, Vanilla & Spiced Rum Jam
Makes approx. 4 300ml jars of jam
Ingredients
3kg cherries
1kg jam sugar
1 lemon, juiced and zested
130ml of spiced rum
3 tsp vanilla paste OR 3 vanilla beans, sliced open
The night before, place a small plate into the freezer - you can use this to check when the jam is ready! Now is a good time to sterilise all your jars as well.
De-pit all the cherries - this may take a good few hours, and yes - it’s incredibly tiresome but worth it!
Place all the ingredients into a large saucepan on a medium heat. As it begins to boil make sure you give it a stir every 5 minutes or so to prevent any sticking at the bottom. It should take around 50 minutes to an hour to cook properly. You can test when it’s done by dropping a spoonful onto the plate from the freezer. Let it sit for 20 seconds before dragging the spoon through it. If it wrinkles - it’s ready to be jarred!
Carefully jar your hot jam into the prepared jars, label and date it and enjoy! It should last for around 6 months in a cool, dark place. If you can keep your hands off it that long.
Blood Orange Marmalade | A Bear Called Paddington
'I daresay you'll be wanting some marmalade.'
A Bear Called Paddington
Michael Bond
My life has been taken over by marmalade while in lockdown. I've made so many batches of it now I've taken to sending it off to friends across the country, with my fingers crossed that there are no leakages within the journey (only one so far and I kind of blame the post for that!).
Despite never really taking to marmalade in my youth - who would want orange flavoured sugar when you could have jam? - it's begun to take up a spot in my cupboard in recent months. I still stay away from the traditional orange marmalade, but the flavours with a more sour or tart note have definitely grabbed my focus. I've sampled so far blood orange, pink grapefruit, kumquat, tangelo and a few other varieties - but the blood orange has almost definitely solidified itself as a favourite.

Of course, there's no other book that this meal could be from other then Paddington. I don't think much of an explanation is required there.
Blood Orange Marmalade
Makes approx. 1 ltr of marmalade
Ingredients
5 - 6 blood oranges
1 k of white sugar
2 lemons
Water
Half and juice all the oranges into a bowl. Use a spoon to scrape the flesh, pips and white membrane of the oranges out as well, keeping them to the side.
Using a sharp knife, slice the peels of the oranges thinly - you want the strips to not be more than a few inches long and quite thin. Place into the bowl with the juice. You want around 1 litre of juice now, so if it's too low add some water to compensate.
Gather all the insides of the oranges together (seeds, membrane, flesh etc) and using a cheesecloth (or anything else that will work), make them into a bundle with the cloth. Place the cloth bundle into the bowl of juice and refrigerate the entire lot overnight.
The next morning place a plate into the freezer so it's ready for when you need to test the marmalade.
Transfer the juice, cut peel and bundle of the orange insides into a large pot and bring to a slow simmer. Leave on the stove for around one hour - or until the peel has softened. Leave to cool.
Remove the pieces of peel and place to the side for later. Strain the juice, getting rid of any flesh parts of the orange that may have snuck in, making sure that you liberally squeeze the cloth bundle, getting as much juice from it as possible. The juice likely will reduce when you cooked it - so measure it and add water in if needed - you should have 750ml of it.
Place the strained juice back into the saucepan onto a medium heat, adding in the juice of both lemons. Add in the sugar and stir until it dissolves. Add the peel back in and bring to the boil.
Leave to boil for around 10 minutes - to test if the marmalade is ready, take the plate from the freezer and drop a spoonful of the marmalade onto and wait around 20 seconds. Use the spoon to push the marmalade across the plate - if it wrinkles when pushing, it's ready.
Leave the marmalade to cool before distributing it evenly into clean, prepared jars. Enjoy!
Bagels | Sweetbitter
Bagels sometimes work, but not with anything on them besides cream cheese. You think you want lox, but you don't. You think you want bacon, but you don't. Salt will promote your headache.SweetbitterStephanie Danler
Bagels sometimes work, but not with anything on them besides cream cheese. You think you want lox, but you don't. You think you want bacon, but you don't. Salt will promote your headache.
Sweetbitter
Stephanie Danler
I spent fourteen years working in cafes, bars, bakeries and restaurants. Usually as a role out the front, but occasionally ducking into the kitchens to develop whatever kitchen skills I could. It was only in the previous year that I left that industry, moving to an office job. While I do enjoy my current job immensely, I still think back on those years working in restaurants with an odd fondness. The book Sweetbitter only brought those memories to life again, the after work drinks that inevitably went too long - the hungover chef desperately pleading for a coffee at 6am as they struggled to whip up a hollandaise, and the general camaraderie of it all.
I have to disagree a little with the claim from Sweetbitter's Tess in the quote above - nothing quite fixed my hangover in my barista days quite like a bacon and tomato sauce roll (back before I went strictly plant-based of course, now I'm all about those facon sandwiches). It was common for the breakfast chef in one particular cafe I was at, to make up a plate of them for the front of house staff, a silent exchange for unlimited coffees provided throughout the breakfast service.

The ever delicious 5 & Dime Bagel is amazingly, right near my office - they do vegan cream cheese, vegan lox and are generally all around awesome - they have been a saviour (even before I even worked in the office) in the days where a carb hit was desperately needed. I've been missing them thoroughly during Melbourne's lockdown and decided instead this past week to make my own - I've tried before, and the result was delicious but not a bagel. It was airy, quite crunchy and not really what you want. I used this great recipe for these ones and adjusted it slightly - I found the first time I made it, the dough wasn't quite right so I've altered the amounts a bit.
Bagels
Makes approx. 5 - 6 bagels
Ingredients
2 tsp instant yeast
2 tsp caster sugar
200ml warm water
4 cups bread flour
Sea Salt
Toppings
Sesame seeds
Poppy seeds
Garlic
Can be anything you like!
Combine 120ml of the warm water with the yeast and the sugar. Leave to sit for around 5 minutes or until the yeast becomes a little foamy.
In a large bowl mix the flour and 2 tsp of sea salt, make a well in the centre and pour in the yeast mixture. add in the remaining 80ml of warm water and mix the dough together, until it forms a firm dough. You may need a little more warm water during this part if it's too dry.
Lightly flour a surface and turn the dough out onto it. Knead firmly for around ten minutes, or until the dough has become smooth and elastic like. If the dough is too sticky, you may need to work a little more flour into it - or a little more water if it's too dry.
Lightly oil a bowl and place the prepared dough inside, turning it so all the dough has a light layer of oil. Cover with a clean tea towel and leave in a warm place for one hour or until the dough doubles in size.
Once the dough has doubled in size, turn it out onto a clean surface and press it down. Split it into 5 - 6 pieces (depends how big you want your bagels!) and roughly mould each piece into a ball.
Making your fingers into a sort of cage around a ball of dough, roll it on a surface until it becomes smooth. Use two fingers to press a hole into the middle of the ball, gently widening the hole until it's as large as you like. Place onto a piece of baking paper and repeat the process with the rest of the dough, cover with a clean tea towel and leave for around 12 - 20 minutes to rise again.
While the bagels are rising put a large (depending how many bagels you want in at once, it doesn't have to be that bit) pot of water on and heat it to a boil. Preheat your oven to 180C.
Gently - I recommend using a spatula here - place each bagel into the boiling water (you can do multiple or just one at a time), leave in for around 6 minutes, making sure you turn it so both sides of the bagel are at covered in the water. Place the boiled bagel onto a baking paper lined oven tray, while the top is wet you want to sprinkle your toppings on - sesame seeds, poppy seeds etc.
Once all the bagels have been boiled and are on the baking tray, place it in the oven to bake for around 25 minutes or until they become golden brown on top.
Transfer to a cooling rack or dig into a fresh one straight away!
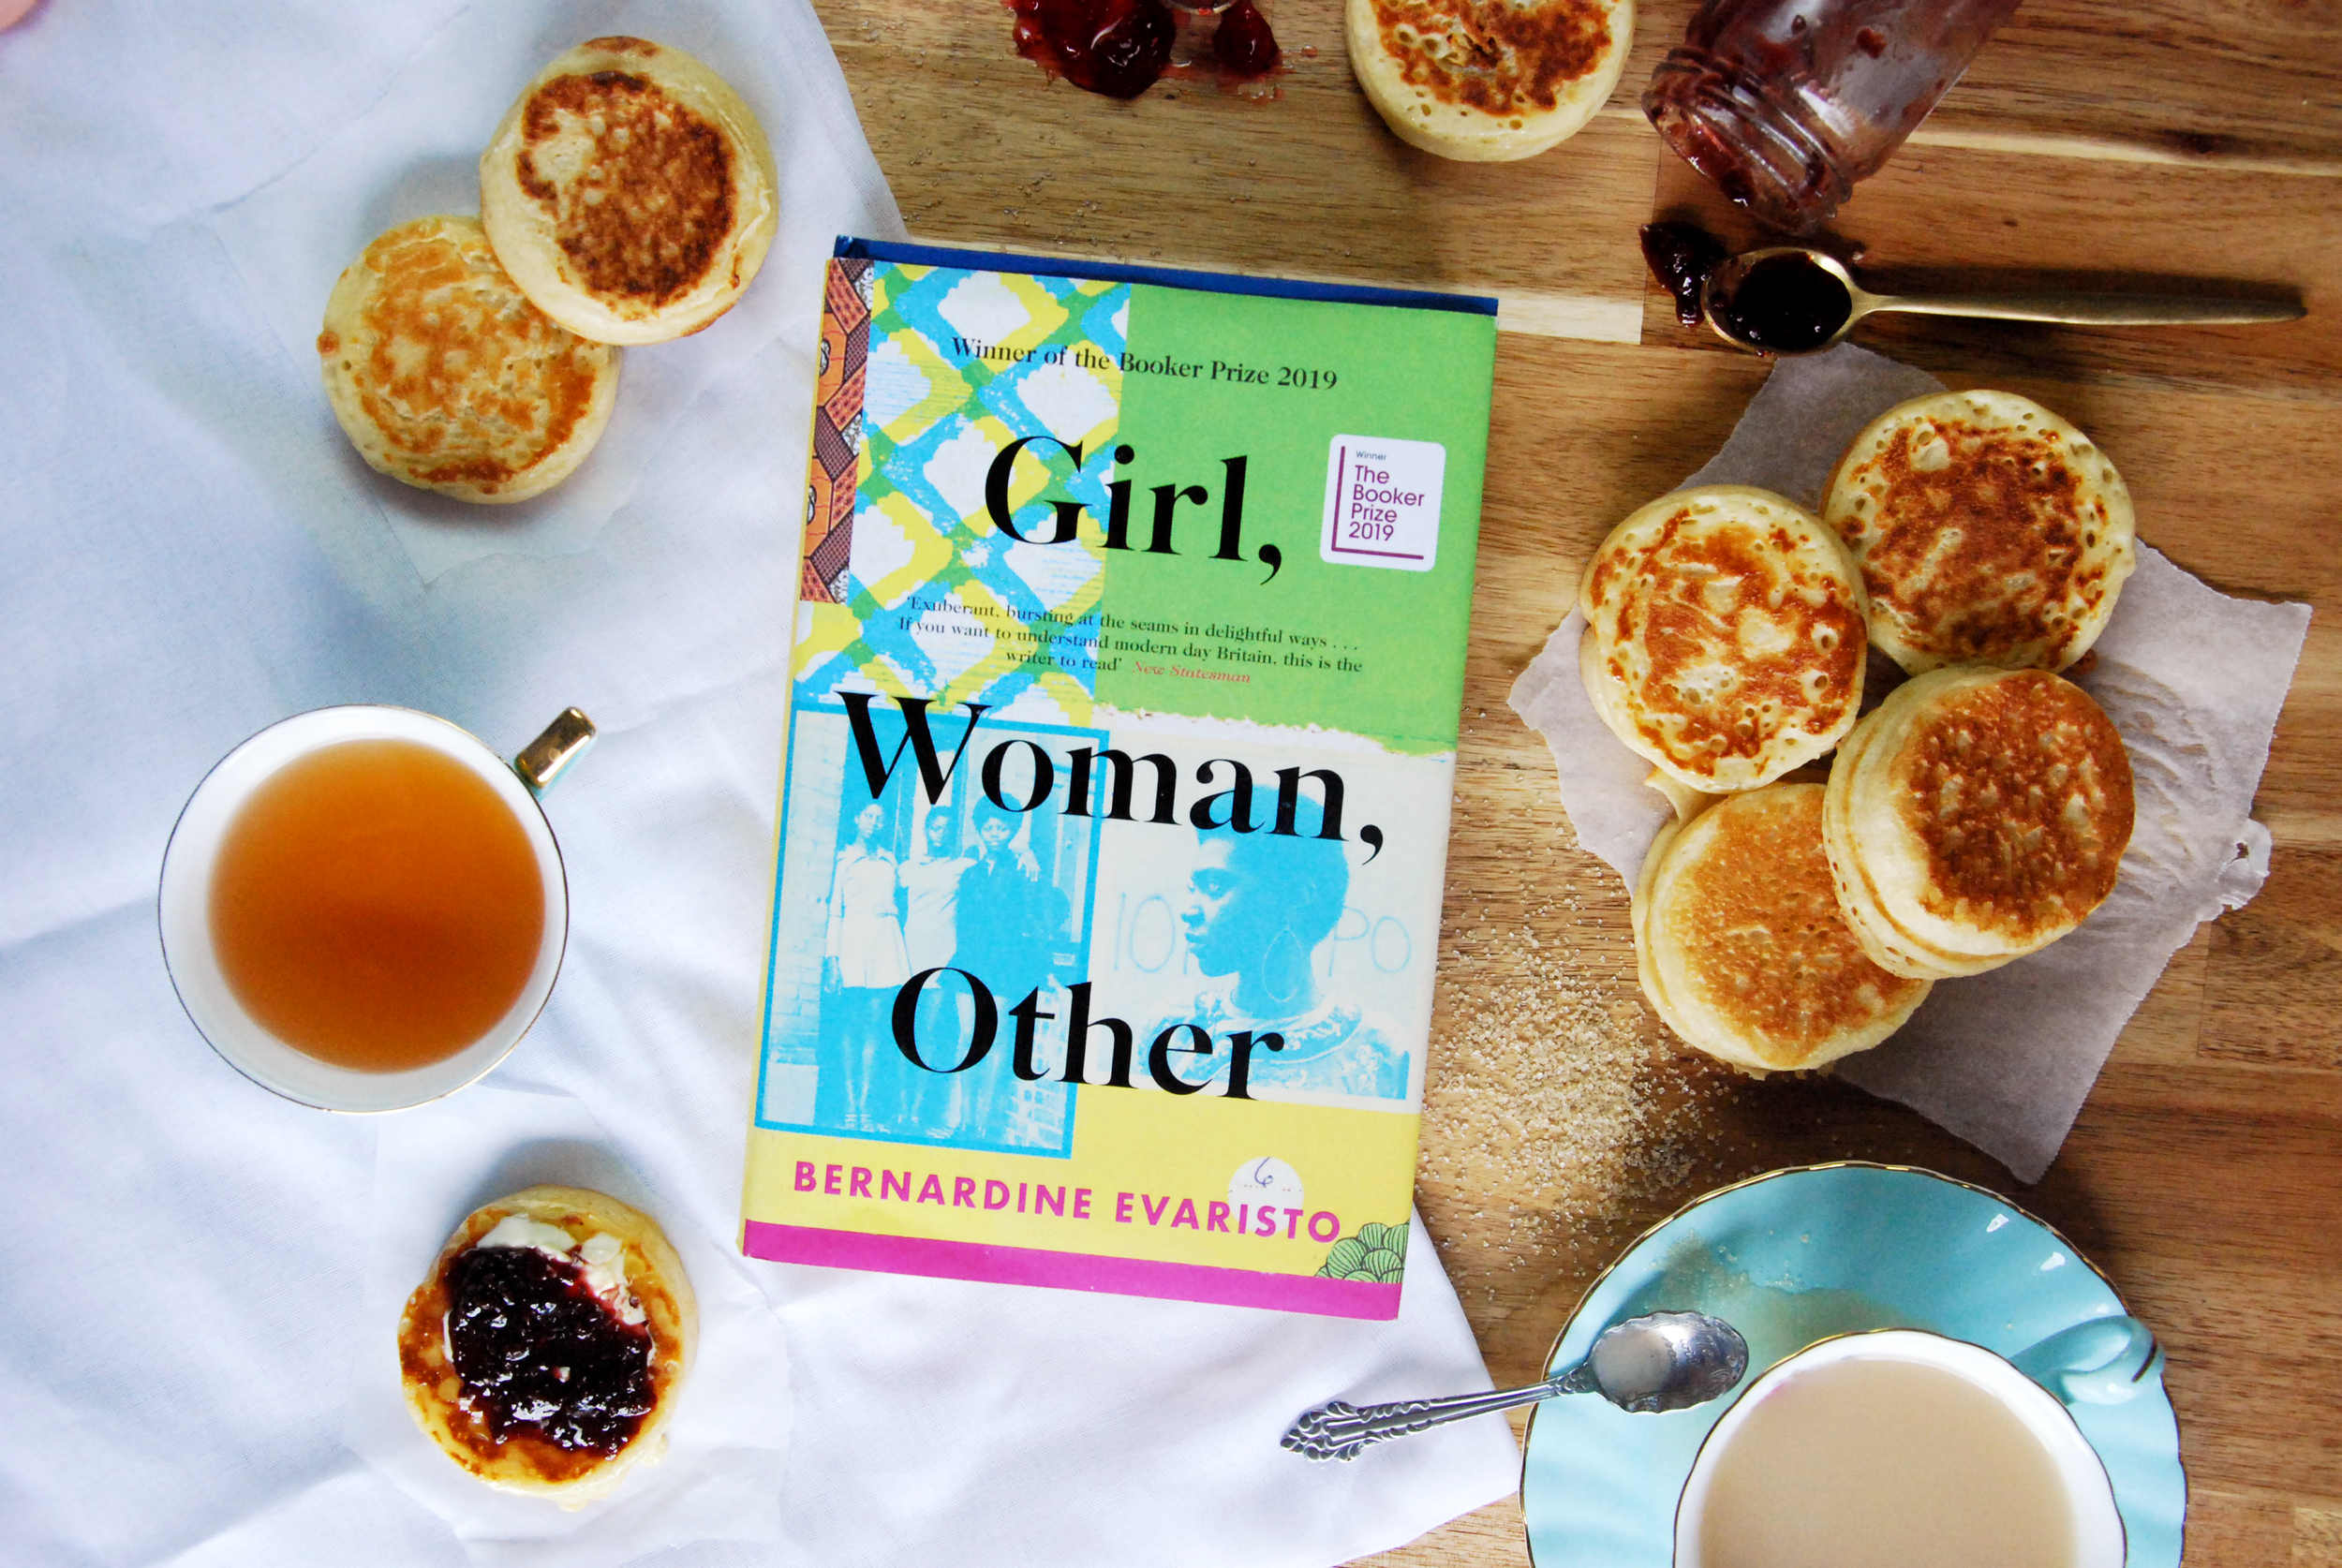
Crumpets | Girl, Woman, Other
She showed me how to toast crumpets over the coal fireHow to make tea using proper milk and not condensedHow to put milk in last and not first
She showed me how to toast crumpets over the coal fire How to make tea using proper milk and not condensed How to put milk in last and not first
Girl, Woman, Other
Bernadine Evaristo
Girl, Woman, Other is a book I think I devoured within a single weekend. I plucked it from my TBR pile on a whim and began reading, and did not stop. By the end of the weekend I had finished it and was eagerly adding more of Bernadine Evartisto's work to my buy list. I have a particularly fondness for short stories, and the entire book had that atmosphere of it, despite not being short stories.
There is an array of delicious foods mentioned throughout the pages of Girl, Women, Other and choosing to make crumpets from it was a bit of a surprisingly choice, even for myself. I had been wanting to attempt a crumpet recipe however and it seemed like the perfect opportunity. These turned out amazing - so amazing in fact that my partner spent the morning on a continuous trek from the table to the stovetop, where he would pluck a freshly cooked crumpet from the pan every few minutes. We devoured all 14 crumpets in the space of 20 minutes that morning.
These are surprisingly easy to make, but can be a little tricky when first doing them. If you're having issues getting the bubbles to form, try adding a little more water to the mixture. It took a few tries before I was able to get the perfect crumpet out of the pan.
Crumpets
Makes approximately 13 crumpets
Ingredients
430ml milk, lukewarm
100ml water, lukewarm
1 tbsp dry yeast
1 tsp bi-carb soda
1 tsp caster sugar
300g plain flour
1/2 tsp salt
2 tbsp vegetable oil
Combine the yeast, warm milk, sugar and warm water together. Leave for about five minutes or until it begins to froth a little.
Sift in the flour, bicarb and salt into a large bowl, make a well in the centre and add the yeast mixture. Whisk well - it should have the consistency of thick cream, if it's too thick add a splash more water. Cover with cling wrap and leave in a warm place for 45 minutes.
After 45 minutes have passed, the mixture should have a lot of tiny bubbles all over the surface. It may have thickened during this time also, so don't be scared to add a little more water in. If it's too thick, the bubbles won't form properly when cooking.
Heat a frying pan on medium heat, grease two egg rings and the pan. Arrange the rings in the pan and spoon the mixture into each - don't leave it go over the top of the rings. They will take around 5 - 10 minutes to cook, but bubbles should begin to appear on the tops of each crumpet. When it's at this stage, you can remove the rings with some tongs - or hands if you're feeling particularly daring - and flip the crumpets. Cook on the other side for no more than 1 minute - just to brown the top.
Repeat the process with the remaining mixture and enjoy hot with butter and jam!