Lemon Cardamom Buns | Normal People
Beside her on the desk is her breakfast, which she just purchased from the supermarket across the street: one black coffee with brown sugar, one lemon pastry roll.Normal PeopleSally Rooney
Beside her on the desk is her breakfast, which she just purchased from the supermarket across the street: one black coffee with brown sugar, one lemon pastry roll.
Normal People
Sally Rooney
I'm sure many people were inspired to pick up the story of Normal People recently, with the release of the brilliant television adaptation. I was one of those people, I had read Normal People probably a year ago or so - but realised I remembered little of the plot when the ads for the show started to emerge. I think it's a bit of second read phenomenon but I utterly devoured the story this second go around. I couldn't tell you of any significant parts the first time I read it, with most of the plot seemingly a blur in my head. The second time though, I went back to read over paragraphs again and again, inhaling the words at a frightening speed - and connecting far more than I would have thought.
Moral of the story here is basically - don't give up on a book the first try, sometimes the second read if what you need.

Normal People is lacking a little in the delightful mentions of food that other authors tend to do so well with, but the lemon roll that Marianne snacks on carefully in Sweden was the only dish that really caught my attention. Possibly because I'm eternally jealous I haven't yet been to Sweden - or really anywhere in Europe. Either way, this recipe below is a bit of a twist on the classic Swedish cinnamon bun, introducing a good amount of lemon into the glaze that really left the final product as a delicious, sticky, sweet and slightly tarty treat.
Lemon Cardamom Buns
Makes approx. 7 - 8
Ingredients
Dough
385g plain flour
2 1/2 tsp dried instant yeast
60g caster sugar
240ml milk, lightly warmed
60g butter, melted at room temp
1 tsp ground cardamom, or finely ground if using pods
1/4 tsp sea salt
Filling
40g brown sugar
60g butter, softened
1tsp ground cardamom
1 tbsp ground cinnamon
1 tsp ground nutmeg
Glaze
60g caster sugar
80ml water
Zest and juice of 2 lemons
To make the dough place the yeast, flour, cardamom, sugar and salt into a bowl - mixing well. Add in the melted butter and milk at intervals, mixing the dough together until all liquids have been added and the dough is coming away from the sides of the bowl. You may need to use your hands for this to properly combine everything.
Turn the dough out onto a lightly floured surface and knead for about 8 minutes, until the dough softens and becomes quite smooth and stretchy. Lightly oil a bowl and place the dough inside, turning to cover it with oil - this will help stop the dough from drying out. Cover with some cling wrap and leave in a warm spot for around an hour or until the dough has doubled in size.
During this time is a good opportunity to prep the filling. Combine the butter, brown sugar, nutmeg, cinnamon and cardamom together, mixing until it is all combined into a paste and is easy to spread.
Preheat oven to 180C and prepare an oven tray with a layer of baking paper (you may need two trays depending how big they are).
Once the dough has doubled in size, tip it out onto a lightly floured surface and roll it into a square that is around 25cm by 25cm. Gently spread your filling onto it, so it is evenly distributed.
Fold your square of dough into thirds - like a business letter. Using a sharp knife, cut strips length ways down (ensuring you're cutting to get the longest possible strips of dough), each strip should be around 5cms wide.
I recommend looking up some Youtube tutorials for shaping these as it helped me a lot initially. One strip of dough at a time, you want to hold each end and twist gently while slowly stretching it out a little. One the strip of dough has spiralled, gently wrap it around your hand twice, tucking the end of the dough into the middle of the spiral as to seal it off.
Place on the oven tray, leaving as much distance between them as possible and cover with a clean tea towel. Leave for an additional 45 minutes to allow the shaped buns to rise some more.
While the second rise is happening, it's a good time to prepare the glaze. Combine the sugar, water, lemon juice and lemon zest in a small saucepan and cook on a medium heat until the sugar has dissolved and the mixture is lightly bubbling. If you want it quite sticky and thick, you can leave it on the stove for longer to cook - otherwise remove it and leave it to the side to cool.
Once the formed buns have risen, bake them in the preheated oven for around 15 - 17 minutes, keep an eye on them as it's easy for them to start browning very quickly.
You can leave the buns to cool - but it's more fun to glaze when hot so you get the lovely sizzle. Use a pastry brush to spread your prepared lemon glaze all over the buns. Enjoy!
Anzac Biscuits | The Third Day, the Frost
She was so good in the kitchen that she intimidated me a bit; I kept to the simplest cooking: scrambled eggs, lamb chops, pasta, Anzac biscuits.The Third Day, the FrostJohn Marsden
She was so good in the kitchen that she intimidated me a bit; I kept to the simplest cooking: scrambled eggs, lamb chops, pasta, Anzac biscuits.
The Third Day, the Frost
John Marsden
The Tomorrow, when the War Began series was a life changing one for myself when growing - and for most Australian's around my age group most likely. It was my first exposure to the now popular YA dystopian genre, where a group of young teenagers are forced to defend themselves and their country against invaders. Growing up in the middle of the countryside probably also helped me connect to the story itself - memories of camping on all holidays (before I came to the conclusion that camping was not for me, though maybe it is a trait of getting older, I would quite like a short camping trip now and then).
I had the joy in my teenage years of attending John Marsden's, the author of the Tomorrow series, writing camp. Spending a week on his bush property learning to write while exploring the areas that clearly influenced him when penning his own work. It was lovely, and the memories of it were probably what prompted me to pick the series up again last year, thankfully my housemate had the books I was missing from my collection and I was able to finish all within a few weeks.

Outside of the classics I read when quite young, Peter Rabbit or Winnie the Pooh, I don't think any other book has given me such clear nostalgia. Of course, no Australian penned book would be complete without mention of Anzac biscuits, a classic in the early months of the year, or really - any time of the year. I did actually make these around the Anzac day weekend, realising that I had all the necessary ingredients in my cupboard at the time. I'd forgotten just how delicious they were with a cup of tea.
Anzac Biscuits
Makes approx. 15
Ingredients
150g plain flour
100g rolled oats
80g desiccated coconut
90g brown sugar
60g raw caster sugar
135g butter
3 tbsp golden syrup
1/2 tsp bicarb soda
2 tbsp water
Preheat the oven to 160C and line two baking sheets with baking paper.
Combine the flour, oats, coconut and both sugars together in a medium bowl.
Heat the butter, golden syrup and water together on a medium heat, until the butter melts and the mixture is smooth. Stir in the bicarb soda (it'll froth up a little) and add into the oat mixture, stirring until well mixed.
Roll spoonfuls of the mixture into balls, placing them onto the baking trays - leaving about 5cms between them, pressing down on top of each ball to flatten them out. I tend to squish mine down quite a bit - I like them crispy and chewy - which does leave them a bit of a mess but still delicious!
Bake for around 10 - 12 minutes if you want them soft and chewy or 15 minutes if you prefer them crispy and crunchy. Leave to cool on the tray for about 15 minutes before transferring to a cooling rack. Enjoy!
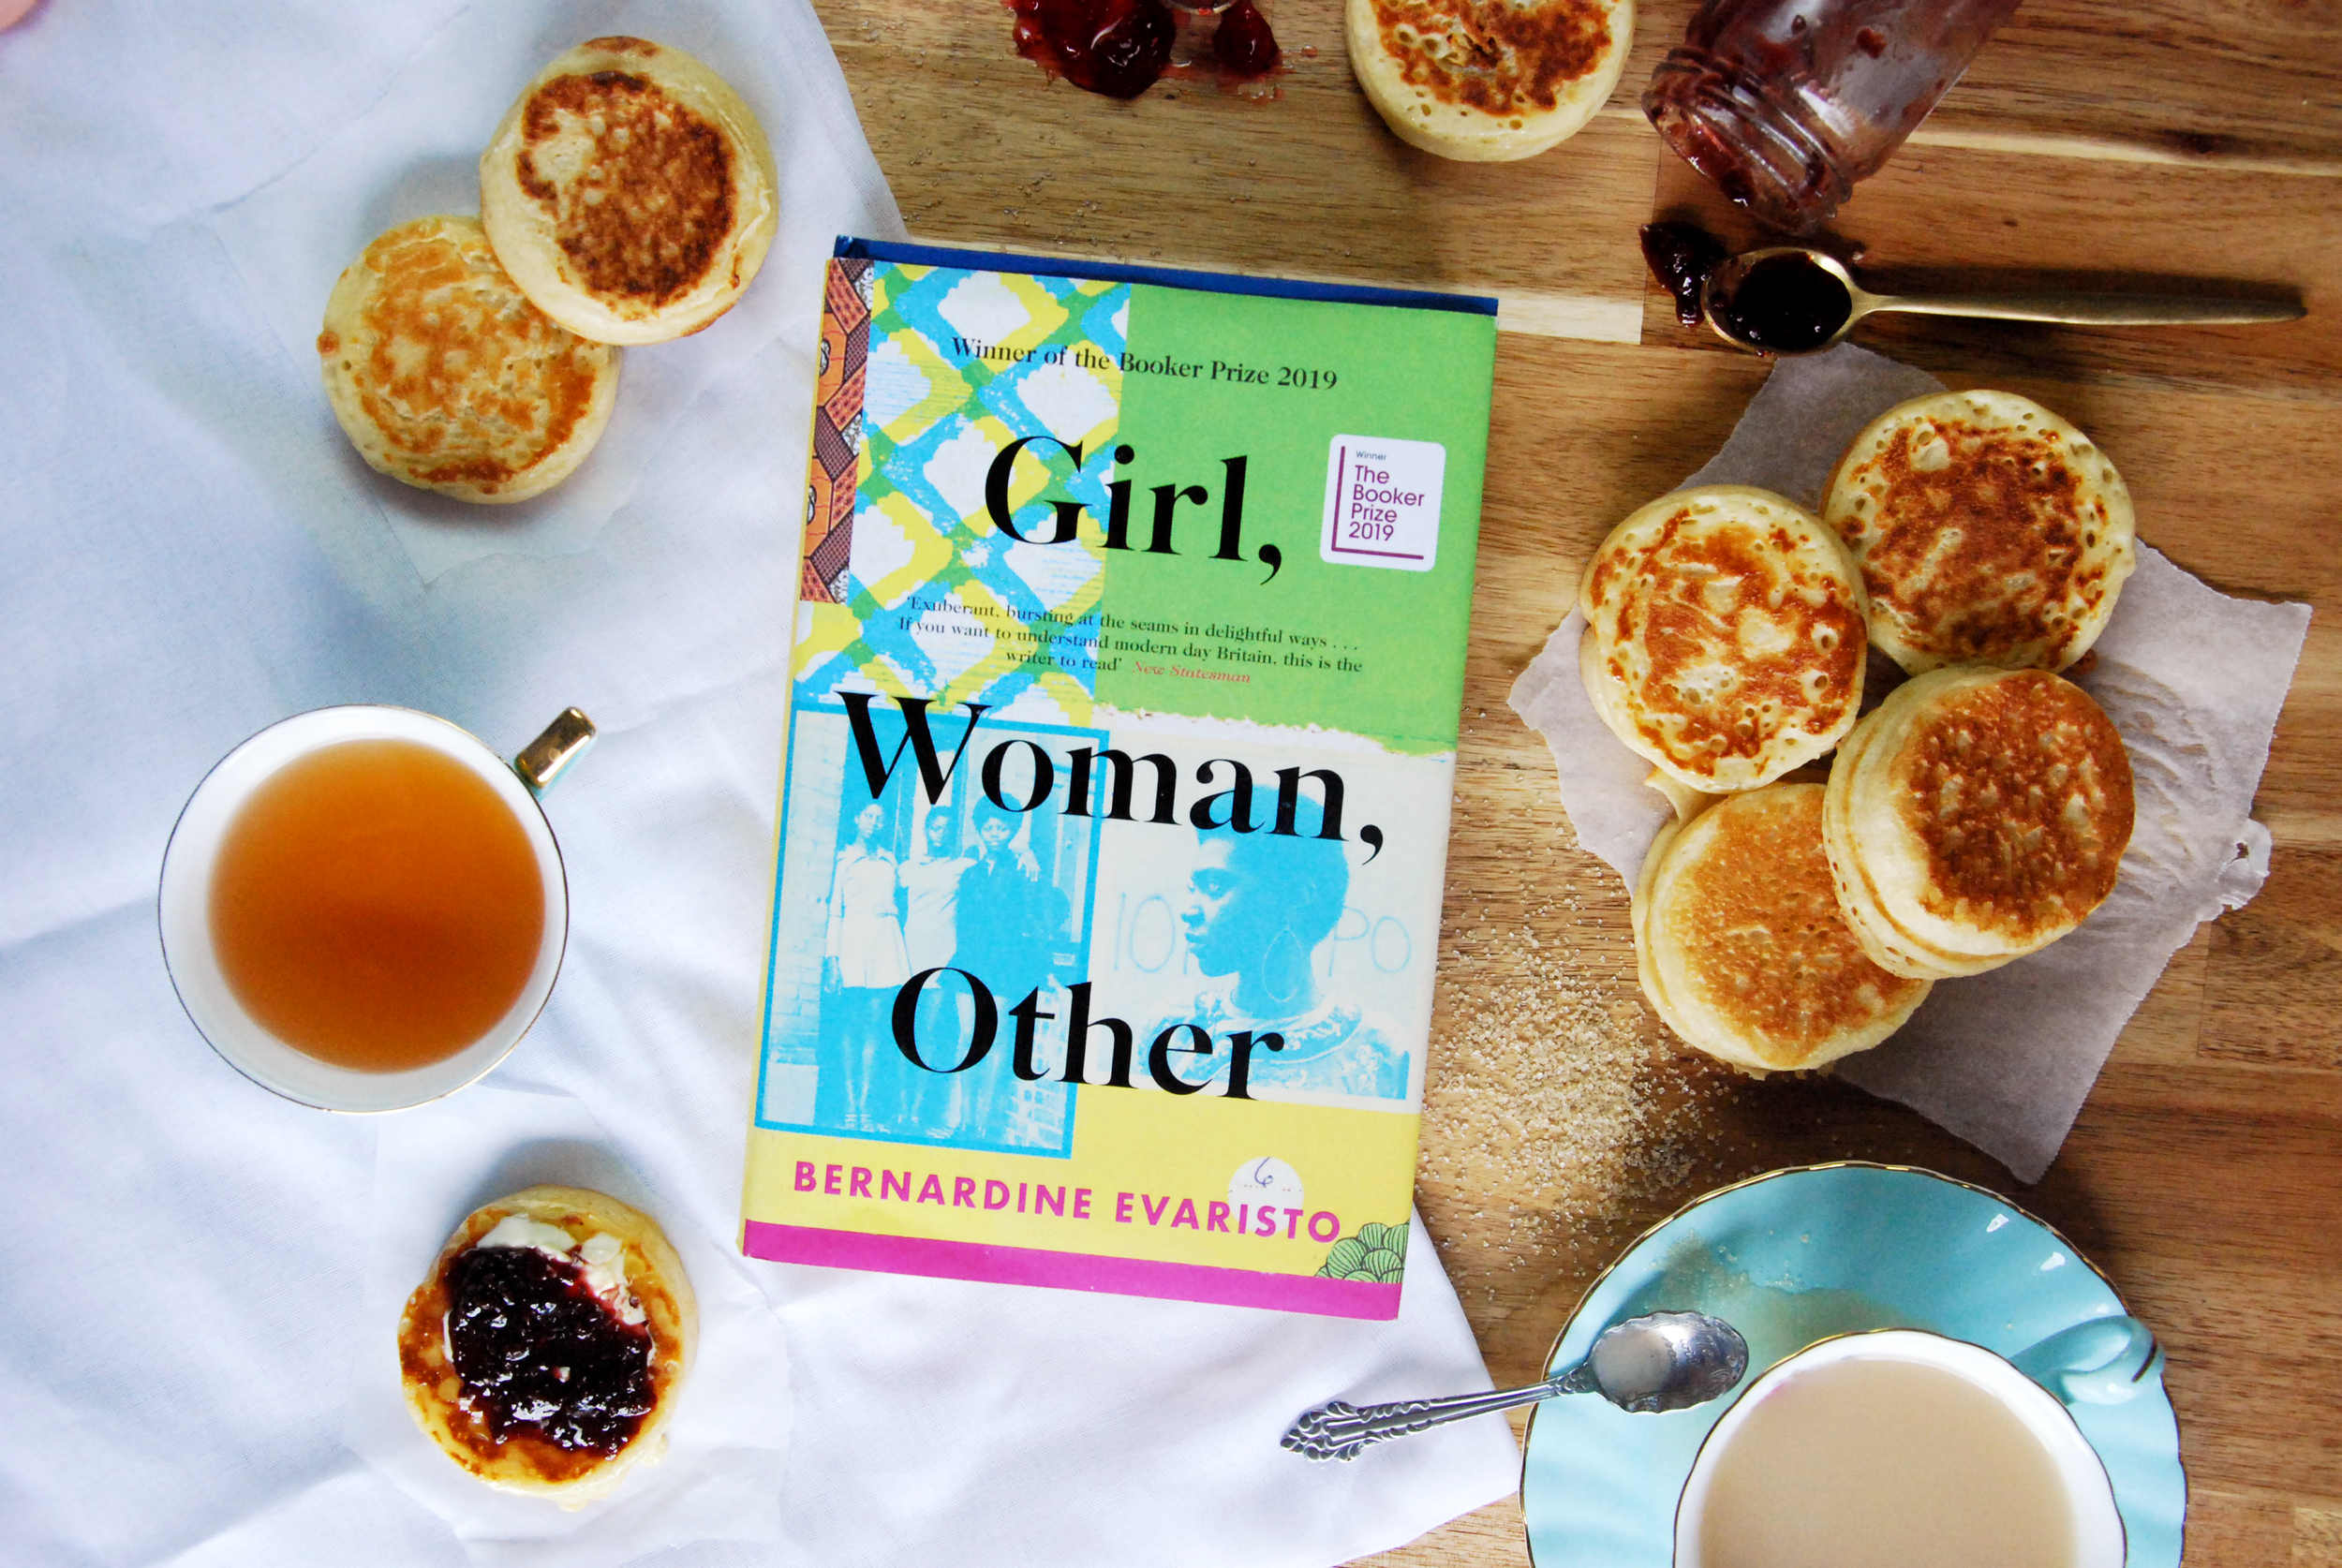
Crumpets | Girl, Woman, Other
She showed me how to toast crumpets over the coal fireHow to make tea using proper milk and not condensedHow to put milk in last and not first
She showed me how to toast crumpets over the coal fire How to make tea using proper milk and not condensed How to put milk in last and not first
Girl, Woman, Other
Bernadine Evaristo
Girl, Woman, Other is a book I think I devoured within a single weekend. I plucked it from my TBR pile on a whim and began reading, and did not stop. By the end of the weekend I had finished it and was eagerly adding more of Bernadine Evartisto's work to my buy list. I have a particularly fondness for short stories, and the entire book had that atmosphere of it, despite not being short stories.
There is an array of delicious foods mentioned throughout the pages of Girl, Women, Other and choosing to make crumpets from it was a bit of a surprisingly choice, even for myself. I had been wanting to attempt a crumpet recipe however and it seemed like the perfect opportunity. These turned out amazing - so amazing in fact that my partner spent the morning on a continuous trek from the table to the stovetop, where he would pluck a freshly cooked crumpet from the pan every few minutes. We devoured all 14 crumpets in the space of 20 minutes that morning.
These are surprisingly easy to make, but can be a little tricky when first doing them. If you're having issues getting the bubbles to form, try adding a little more water to the mixture. It took a few tries before I was able to get the perfect crumpet out of the pan.
Crumpets
Makes approximately 13 crumpets
Ingredients
430ml milk, lukewarm
100ml water, lukewarm
1 tbsp dry yeast
1 tsp bi-carb soda
1 tsp caster sugar
300g plain flour
1/2 tsp salt
2 tbsp vegetable oil
Combine the yeast, warm milk, sugar and warm water together. Leave for about five minutes or until it begins to froth a little.
Sift in the flour, bicarb and salt into a large bowl, make a well in the centre and add the yeast mixture. Whisk well - it should have the consistency of thick cream, if it's too thick add a splash more water. Cover with cling wrap and leave in a warm place for 45 minutes.
After 45 minutes have passed, the mixture should have a lot of tiny bubbles all over the surface. It may have thickened during this time also, so don't be scared to add a little more water in. If it's too thick, the bubbles won't form properly when cooking.
Heat a frying pan on medium heat, grease two egg rings and the pan. Arrange the rings in the pan and spoon the mixture into each - don't leave it go over the top of the rings. They will take around 5 - 10 minutes to cook, but bubbles should begin to appear on the tops of each crumpet. When it's at this stage, you can remove the rings with some tongs - or hands if you're feeling particularly daring - and flip the crumpets. Cook on the other side for no more than 1 minute - just to brown the top.
Repeat the process with the remaining mixture and enjoy hot with butter and jam!
Vanilla Layer Cake | Anne of Green Gables
The cake did rise, however, and came out of the oven as light and feathery as golden foam. Anne, flushed with delight, clapped it together with layers of ruby jelly, and, in imagination, saw Mrs Allan eating it and possibly asking for another piece!Anne of Green GablesL.M Montgomery
The cake did rise, however, and came out of the oven as light and feathery as golden foam. Anne, flushed with delight, clapped it together with layers of ruby jelly, and, in imagination, saw Mrs Allan eating it and possibly asking for another piece!
Anne of Green Gables
L.M Montgomery
I dived into Anne of Green Gables for the (what I thought) first time recently - I found a very scraggly copy at a local bookstores sale and had the price knocked down to a mere $2 based on the fact that the back few pages had basically been cut off. The further I got into it's pages, the more familiar it seemed and I realised that I had actually read this book before. It must have been when I was quite young, young enough to have no solid memory but enough that small pieces came back to me the further in I read.

Like many children's books, there's an abundance of cosiness and quaintness throughout the pages, bringing forth images of cottages, spring time and, of course, baking. I tried my hand at the cake Anne so desperately wants to impress Mrs Allan with, an attempt that fails when she accidentally replaces the necessary vanilla with medicine instead. This cake is luckily fluffy, delicious and very full of vanilla.
Though don't make my mistake and bake is during a quarantine as you will be forced to either eat it all yourself, or force it onto a roommate or partner.
Vanilla Layer Cake
Ingredients
Cake
2 tbsp apple cider vinegar
1/4 cups milk
620g plain flour
450g raw caster sugar
1 tbsp baking powder
1 1/2 tsp bi-carb soda
1/4 cup vegetable oil
3 tsp vanilla extract
Pinch sea salt
Frosting
100g vegetable shortening, softened
250g butter, softened
500g icing sugar
1 tsp vanilla extract
Pinch sea salt
Jam of your choice
Preheat oven to 180C, and prepare three 8” cake tins - greasing the sides and bottoms well. I recommend putting a circle of baking paper at the bottom as well, it’ll help get them out better.
Combine the vinegar and milk and let it sit to the side to curdle - will take about five minutes or so. If it gets a bit chunky - perfect!
Combine the flour, baking power bi-carb soda, sugar and salt together in a large mixing bowl.
Add the oil and vanilla extract to the vinegar and milk and add to the mixed dry ingredients. Mix until everything is combined but make sure not to over-mix.
Divide the batter between the three prepared tins and bake for about 30 - 35 minutes or until the tops are golden and a skewer inserted int he middle comes out clean.
Remove from the oven and leave to cool for about ten minutes before removing the cakes from the tins. Turn them out onto a cooling rack and wait till they are completed cooled before frosting. You can pop them in the fridge to rush the process along a little if needed.
While the cakes cooling - prepare the frosting. Combine the shortening and butter in the bowl of a mixer and cream until fluffy.
Add in the vanilla, salt before gradually adding in the icing sugar a little at a time until it has all combined. It should be fluffy and easy to spread.
Sandwich the three cake layers together with a good layer of the jam and frosting between - depending how skilled you are at cake frosting, either decorate the sides of the cake or have it as is! Either way will be delicious, and I guarantee even if this cake isn’t the prettiest at the end, it will still be delicious.
Enjoy!
Devonshire Splits | The Little White Horse
Plum cake. Saffron cake. Cherry cake. iced fairy cakes. Eclairs. Gingerbread. Meringues. Syllabub. Almond fingers. Rock cakes. Chocolate drops. Parkin. Cream horns. Devonshire splits. Cornish pasty. Jam sandwiches. Lemon-curd sandwiches. Lettuce sandwiches. Cinnamon toast. Honey toast...The Little White HorseElizabeth Goudge
Plum cake. Saffron cake. Cherry cake. iced fairy cakes. Eclairs. Gingerbread. Meringues. Syllabub. Almond fingers. Rock cakes. Chocolate drops. Parkin. Cream horns. Devonshire splits. Cornish pasty. Jam sandwiches. Lemon-curd sandwiches. Lettuce sandwiches. Cinnamon toast. Honey toast...
The Little White Horse
Elizabeth Goudge
I went to my first proper high tea recently, killing time in Sydney after the Mardi Gras parade and waiting till we could head back to the airport. Our group headed to a quite fancy looking tea room, that just so happened to offer vegan options with all their menu items. We spent two hours drinking endless cups of earl grey, eating delicate sandwiches and gorging ourselves on scones with coconut cream and jam. Though I do quite earnestly defend Melbourne as a much more liveable city than Sydney, I do have to admit the inclusion of a vegan high tea and an entirely vegan yum cha restaurant did win me over slightly. Unfortunately there is no vegan yum cha that I've found yet in Melbourne, but there appears to be at least a a few places that offer a vegan high tea.

I had just finished a re-read of Elizabeth Goudge's, when my mind started wondering back to the thought of high teas, but, mainly that tiny sandwiches are close to the best food in the world. The afternoon tea that Marmaduke Scarlet dreams of, before making a reality, is one of every child's (and probably some adults) dreams. Only one item made me wonder though and do a subsequent Google search. Devonshire Splits, something I had never heard of or seen before. After having made them - yum. I see why they could be a favourite during a high tea.
*Note: I used whipped coconut cream for this. If you want to d the same, make sure you use full fat coconut cream and chill the can in the fridge for at least 12 hours before hand, scooping off the solidified cream on the top to whip up, making sure you don't get any of the liquid mixed in.
Devonshire Splits
Makes approx. 15 buns
IngredientsBuns
530g of plain flour
50g of raw caster sugar
2 tsp dry yeast
85g of butter
180ml milk + 1 tbsp extra for glazing
180ml warm water
Pinch of sea salt
Filling
Jam, you can use store bought or if you want to make your own my recipe is here
Whipped cream *see note
Icing sugar, to serve
Combine the butter, milk and water together in a saucepan and heat until the butter has melted, place to the side and leave until it cools. It should still be warm, but not too hot.
In a large bowl mix together the flour, yeast, sugar and salt and add in the warm butter and milk mixture, stirring together until a sticky dough has formed.
On a lightly floured surface knead the dough until smooth, it will take about 10 minutes or so. You don't want to add too much flour into the dough and ruin it during this time, I recommend flouring your hands lightly as well to stop the dough sticking. when the dough is smooth and elastic-like, shape it into a ball and place into a lightly oiled bowl. Cover with cling wrap or a clean tea towel and leave in a warm place for around an hour or until the dough has doubled in size.
When the dough has risen, deflate it by pressing into the middle. Turn it out onto the counter and divide it into 15 equal pieces. Using a clawed hand, roll each piece of dough on the bench beneath your fingers to form a smooth ball.
Place all the shaped buns into a baking tray lined with baking paper and cover again with cling wrap or a clean tea towel, leave to rise again for around another hour.
While the dough is on its second rise, pre-heat the oven to 190C.
Bake the buns for around 15 - 20 minutes each, but keep an eye on them so that they don't overcook. You want them to be golden brown on top, with a hollow sound when lightly tapped. Transfer to a wire rack and leave to cool completely.
Slice the buns about 2/3rds of the way through, placing a generous spoonful of jam into each bun, along with a good serving of whipped cream. Dust with some icing sugar to serve and enjoy with a cup of tea!
Currant Buns | The Tale of Peter Rabbit
Then old Mrs. Rabbit took a basket and her umbrella, and went through the wood to the baker's. She bought a loaf of brown bread and five currant buns.The Tale of Peter RabbitBeatrix Potter
Then old Mrs. Rabbit took a basket and her umbrella, and went through the wood to the baker's. She bought a loaf of brown bread and five currant buns.
The Tale of Peter Rabbit
Beatrix Potter
This year's Easter weekend is slightly different from the rest. It's probably the first one that I haven't had to work, standing behind a bakery counter and selling boxes upon boxes of hot cross buns. Instead I can join the masses that take these four days to relax, visiting family (not so much this year, obviously) and generally spending the time eating countless buns and drinking endless cups of tea.
I used my time stuck at home this year to experiment with making my own hot cross buns, which proved a bit more a challenge considering that everyone in the country seems to have had the same idea this last few weeks and all the yeast in stores had disappeared. After a few days of searching I was able to find a stall at a local market selling fresh yeast, and after using the fresh stuff, I can't believe I ever used dry yeast. I've made so many batches, the last few days have been spent doing nothing but eating buns, reading books and enjoying lounging on the couch.

I did a few variations of hot cross buns these last few days, the below recipe with currants and sultanas, one with sour cherries and chocolate and another with figs and cranberries. I used the hot cross bun recipe from Natalie Paull's cookbook Beatrix Bakes - which is filled with amazing recipes from her cafe Beatrix. A tiny corner shop that I used to frequent far, far too much before I went plant based. I made same alterations to the recipe, leaving out orange (I had none in the house and forget to get any) and the dry milk powder. Having tried her buns before at the cafe, I highly recommend getting a copy of the book here, as there are many more amazing recipes within.
*Note: you can use dry yeast instead of fresh, just follow the measurements of how much to use on the box. Also the mixed spices, you can use whatever you like - I recommend cinnamon, nutmeg, ginger, but just go with whatever you enjoy.
Currant Buns
Makes approx. 12 buns
Ingredients
100g currants, sultanas and cranberries mixed
540g plain flour
60g caster sugar
3 tsp mixed spices *see note
1 tsp sea salt
170ml warm water
20g fresh yeast *see note
70g soft butter
Oil, for brushing pan and dough
Crosses
60g plain flour
1 tsp icing sugar
2 tsp oil
50ml water
Glaze100ml water
100g caster sugar
1 tsp vanilla essence, or one vanilla bean
If you're using the fresh yeast, pop it into a large bowl and add a teaspoon of sugar, smushing it down into the yeast with the back of a spoon - leave for a few minutes and it should turn into a liquid, add in the warm water. If you're using dry yeast - do the same, minus the smushing, and add in the water and leave it to go frothy.
Combine the flour, spices, salt, sugar and add into the yeast mixture - mixing well to form into a dough. Add in the dried fruits as you're mixing the dough. At around this stage it's a good time to remove from the bowl onto a lightly floured surface, kneading to incorporate the fried fruits. You want to knead the dough for around ten minutes or so, until it's smooth - it should still be quite moist at this stage, you don't want it too floury.
Lightly oil a large bowl and place the dough inside, covering with plastic wrap or a clean tea towel and leave in a warm place for an hour or so, or until the dough has doubled in size.
While the dough is rising, it's a good time to make the glaze. Put the water, vanilla and caster sugar into a saucepan and bring to the boil - the longer you cook it, the stickier the glaze will become, so do it as you like. Remove from the heat and leave to cool.
Prepare a baking tray by oiling it lightly, and lining it with baking paper. Depending on the size of your tray you can squish the buns together so they can be pulled apart, or you can have them seperate.
Turn out the raised dough onto a lightly floured surface and press down lightly to deflate it. Split it into twelve even pieces (depending on how big you want your buns) and shape them into a ball by rolling them under your clawed hand on the bench. Place them on the baking tray and cover again with plastic wrap or a clean tea towel and leave for another hour or so, or until the buns have risen again.
Preheat the oven to 190C.
During this time, make the mix for the crosses on top. Combine all the needed ingredients - it's gonna be a bit of a gloopy mix, add more flour or water as you think is necessary and put the flour mixture into a piping bag with either a thin piping tip, or snip the end of the bag off so only a thin line will come out.
Once the buns have risen, pipe the crosses on top - it's easiest to do them all in one row, doing long lines across all buns at once.
Bake for about 15 minutes, but keep an eye on them as they can burn very quickly (as my second batch showed).
Remove and leave on the tray, and spread the prepared glaze over the top of them thickly, ensuring that the tops are covered and nice and shiny.
Enjoy with a spread of a butter and tea!